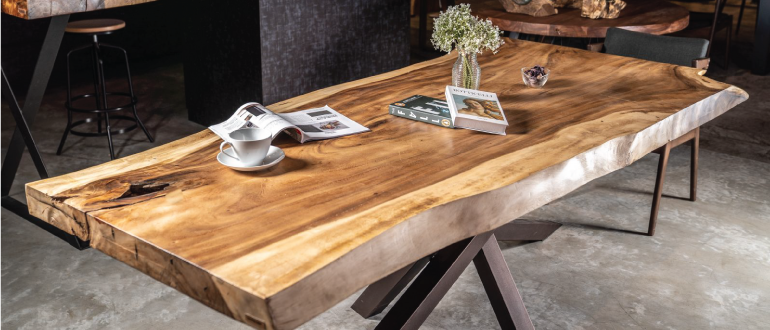
After spending all of the hours removing the previous finish, making repairs, sanding, staining, and smoothing, the very last step is to putting on the brand new finish on the furniture. Some might thinking about finishing step is some kind of routine routine, others may assume it is creative. Either way, it is quite easy task to perform, if using proper materials, take your time, and patience. In this article, we will be discussing on how to pick the best finish for your furniture wood, preparation work, using some particular technique, and drying tips.
Get a silky smooth finish on your next project
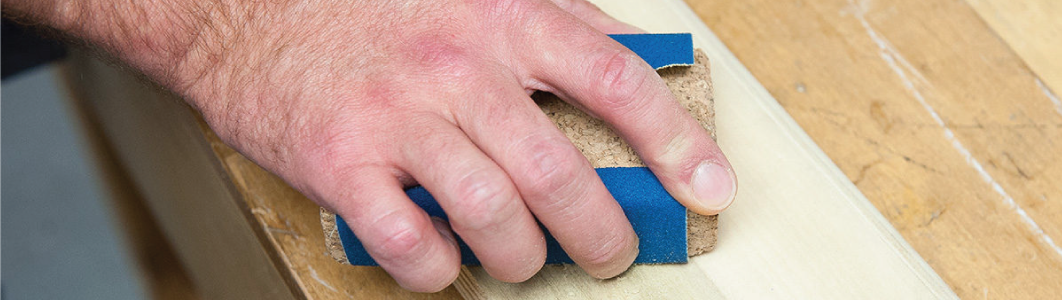
1) Hand-Sand the Curves
Sand curved surfaces—and other areas an electric sander can’t reach—by hand. Treat all areas equally, using the same progression of sandpaper grits for both hand and power sanding. Start with 80-grit to sand away blemishes, then use 120-grit and finally 180-grit. Using these exact grits isn’t vital (100-150-180 works too), but it’s important to progress in steps, removing deeper scratches and leaving finer scratches each time.
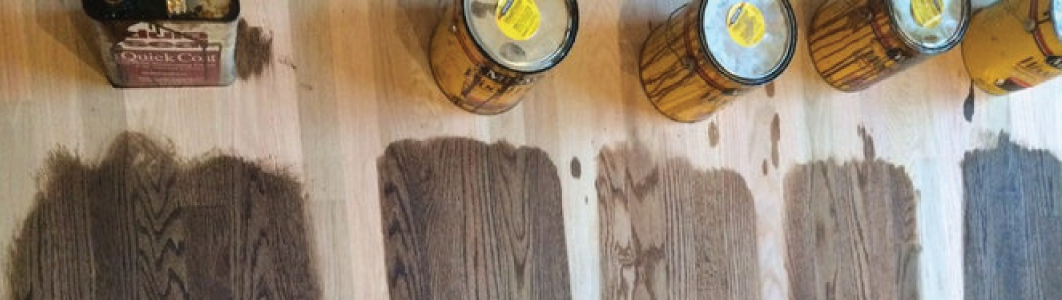
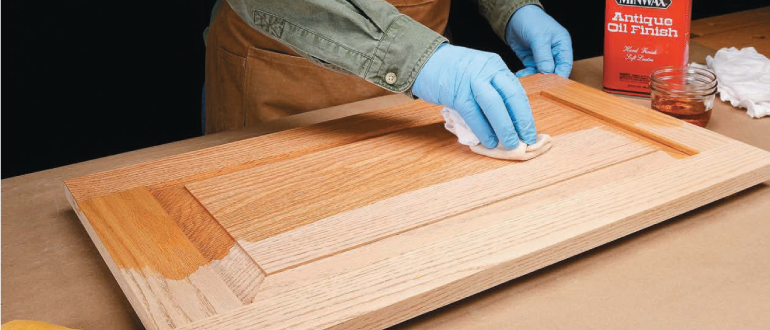
2) Test Stain Thoroughly
When looking on the stain samples displayed in store, you cant actually relying on it because the actual color varies a lot, how you prepared it for finishing and depends on the type of wood you are using. So instead, save some scraps from your project, go through the same sanding process and use them to test different finishes. In addition, you can also test stain on the scrap in order to get the color you want.
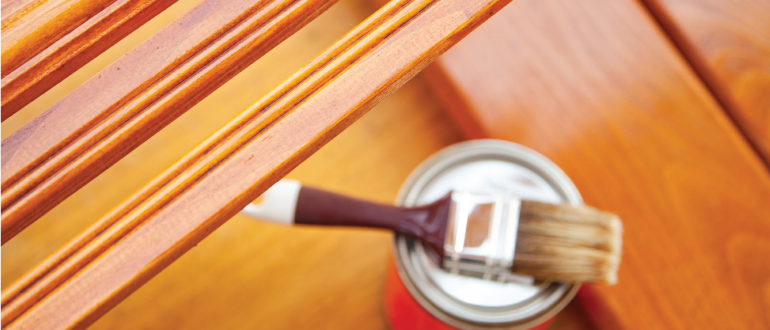
3) Using a Better Brush is the Key
A brush is the best tool for many finishes especially polyurethane. Synthetic brush such as polyester is best for water-based poly. As for oil-based poly, use a natural-bristle brush. Hence, plan to spend more for a good-quality brush as it is able hold more finish, lay it on smoothly and are less likely to leave lost bristles in your coat. If you clean your brush immediately after use, it can be use exceptionally in the future.

4) Do Not Sand Though the Stain
When sanding between coats, rub right through the clear coat is very easy with removing the stain below. So sand super gently after the first coat to remove any dust on the surface. If there are bigger problems, you can sand a bit harder after the second coat. In order to repair rubbed-through spots, just apply new stain. If there any stain that gets on the surrounding polyurethane, wipe it away immediately.

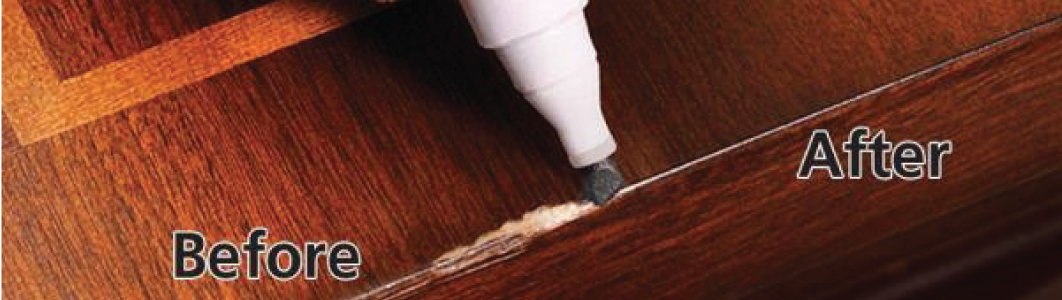
5) Hiding Flaw or Scratches
You can hide scratches by using permanent-ink felt-tip markers. You can either use the furniture touch-up markers available at hardware stores or, buy markers at an art supply store that carries an array of colors to get an exact match. Just apply the ink onto the scratch and let it dry, then even out the color by stroking lightly across the surface using the tip. Keep in mind that colors tend to get a bit darker when mixed with wood fibers.
Understanding Wood Furniture Finishes: What you need to know

Furniture Finishing Tips