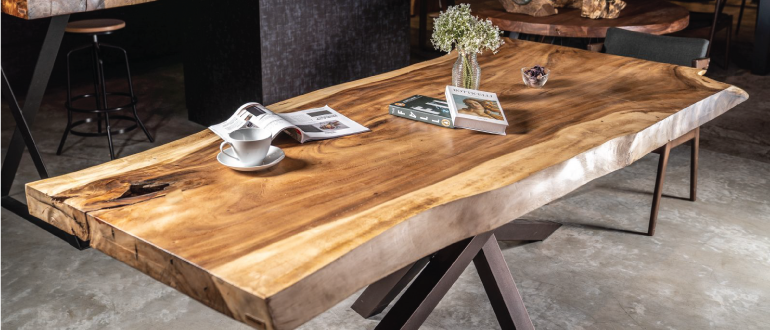
Piece of your wood furniture is valuable to you that may hold substantial monetary value, too. So when it’s in bad shape or the color start to become dull, why replace it? Furniture refinishing is the process of making old pieces new again. Furniture refinishing are not that costly. It’s mainly about spending enough time and practice patience to this exacting yet rewarding project.
The most common mistakes when repainting wooden furniture are surprisingly easy to avoid, so why do people make so many? Lots of mistakes happen when you rush into a repair project without having a clear idea of what it will take in terms of materials, time, and the right steps to take. This article will give the proper way and tips to refinishing your wood furniture.
Equipment/Tools
- Sponges
- Clean buckets
- Respirator
- Eye and hearing protection
- Steel wool
- Putty knife
- Waterproof gloves
- Paint brushes
- Clean rags
- Sandpaper, varying grits
- Oscillating electric sander
- Manual sanding block
Materials
- Dish soap
- Liquid paint stripper
- Mineral spirits
- Wood glue
- Pre-stain wood conditioner
- Stain
- Wood coating
Tips on Refinishing Solid Wood Furniture
01 Clean the Surface
Before refinishing on your wood furniture, you need to thoroughly clean the surface. This can help you to save a lot if time, as sometimes it can detect after cleaning that all the requirements of a piece is retouching. Clean the surface with either a wooden cleaner or a wax remover to see if you can remove the current finish.
02 Remove All Old Finish
If you need to strip a piece, always remove any old finish or paint well. Spots leave an uneven surface when you finally start finishing it. Apply enough stripper to keep the surface moist and never work in direct sunlight as it can dry out the wood. Before sanding, completely remove the finish to prepare the surface for the new finish job.
03 Wait for Stripper Long Enough
If you don’t wait long enough for the stripper to work, you’ll have to scrape the wood to remove the old finish. Check if it comes off easily before removing it. Leave the stripper on longer if the old finish doesn’t work. it’s not easy.
04 Don’t Wait for Stripper Too Long
If you spread the stripper and leave it on for longer than necessary, the paint can harden again. Allow the stripping time necessary so you can remove the paint while it is still soft.
05 Make Necessary Repair
It is essential to check for surface repairs before stripping and immediately after stripping, do this before sanding and staining, this will guaranteed to have a better finish on your job.
06 Sanding Properly
Before applying the stain, the surface must be smooth; otherwise the finish may not be properly accepted. Proper sanding ensures a smooth finish. Use the right sandpaper for the job.
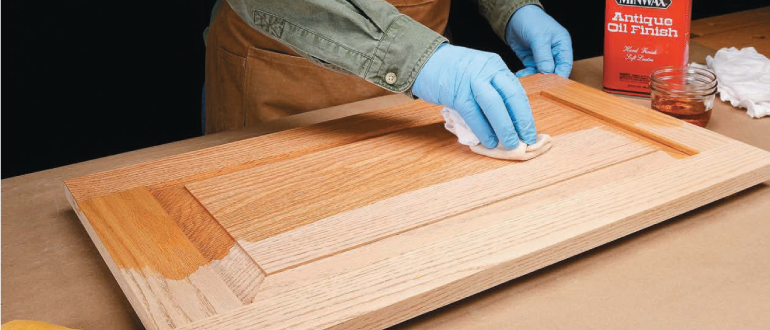
07 Applying Just Enough Coat
When applying a stain or paint, resist the tendency to apply a lot at once. Too thick a coat will only create an uneven and unsightly finish and will not finish the job sooner. Apply the product and let the first coat dries before moving on to the next.
Understanding Wood Furniture Finishes: What you need to know

Furniture Finishing Tips
